Crème brûlée is a dessert that has been delighting palates for centuries with its silky custard base topped with a crisp, caramelized sugar crust. This classic French dessert is a showstopper, but the true magic lies in the art of caramelization. Achieving that perfect golden-brown crust requires precision and technique. Whether you’re a seasoned chef or a home cook looking to impress, this guide will walk you through everything you need to know about caramelizing crème brûlée.
Introduction to Crème Brûlée and Caramelization Techniques
Crème brûlée, which translates to “burnt cream,” has a rich history that dates back to the 17th century. It is traditionally made from a custard base of cream, sugar, and egg yolks, which is then topped with a thin layer of sugar that is caramelized to create a hard, glassy surface.
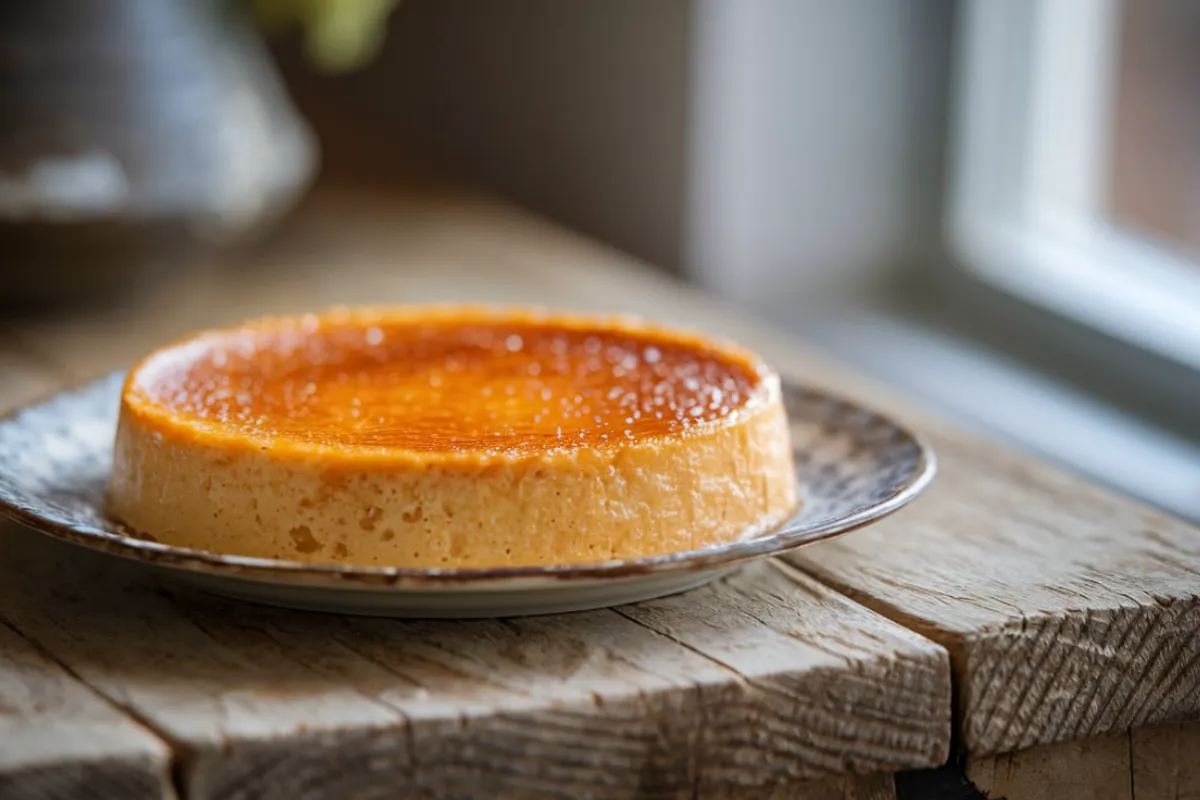
The process of caramelization is what gives crème brûlée its unique texture and flavor. When sugar is exposed to high heat, it melts and then turns into a caramel, a process that requires careful control to avoid burning. The key to a perfect crème brûlée lies in achieving a uniform caramelization that contrasts beautifully with the creamy custard below.
For a step-by-step guide to making crème brûlée, including caramelization techniques, check out this Easy Crème Brûlée Recipe.
Ingredients and Tools Needed for Caramelizing Crème Brûlée
Before diving into the caramelization process, it’s essential to gather all the necessary ingredients and tools:
Essential Ingredients for Crème Brûlée Caramelization:
- Heavy cream: The base of the custard.
- Egg yolks: Provides richness and helps set the custard.
- Granulated sugar: For both the custard and the caramelized topping.
- Vanilla extract or vanilla bean: For flavoring the custard.
Necessary Tools for Caramelizing Crème Brûlée:
- Kitchen torch: The most popular tool for caramelizing sugar on crème brûlée.
- Oven broiler: An alternative method for caramelization.
- Heatproof ramekins: To hold the custard.
- Fine mesh sieve: To strain the custard for a smooth texture.
- Chilled water bath: Helps in cooking the custard evenly.
Using the right tools, especially a kitchen torch, ensures that the caramelization process is smooth and controlled. For those without a torch, using an oven broiler is a viable alternative.
Preparing the Crème Brûlée Base for Perfect Caramelization
The first step in making crème brûlée is preparing the custard base, which forms the creamy layer beneath the caramelized sugar crust. Here’s how you can do it:
Step-by-Step Guide to Crème Brûlée Custard Preparation:
- Heat the Cream: In a saucepan, heat the heavy cream over medium heat until it just starts to simmer. Do not let it boil. Remove from heat and set aside.
- Whisk Egg Yolks and Sugar: In a separate bowl, whisk together the egg yolks and sugar until the mixture becomes pale and thick.
- Combine the Ingredients: Slowly pour the warm cream into the egg mixture, whisking continuously to prevent the eggs from curdling.
- Add Vanilla: Stir in the vanilla extract or the seeds from a vanilla bean.
- Strain the Custard: Pour the mixture through a fine mesh sieve into another bowl to remove any egg solids.
- Fill the Ramekins: Spoon the custard mixture into each ramekin equally.
Tips for Achieving the Perfect Crème Brûlée Custard:
- Temper the Eggs: Slowly add the cream to the egg mixture to avoid cooking the eggs too quickly.
- Strain the Custard: This step is crucial for a silky-smooth texture.
- Use a Water Bath: Place the ramekins in a water bath (a baking dish filled with hot water) to ensure even cooking.
For more tips on preparing the custard base, visit this Three Ways to Caramelize Crème Brûlée.
Cooling and Setting the Custard Before Caramelizing Crème Brûlée
Once the custard has been prepared and poured into the ramekins, it’s time to bake and then cool it. This step is crucial for achieving the right texture before the caramelization process.
Baking the Custard for Crème Brûlée:
- Preheat your oven to 325°F (160°C).
- Bake the Custard: Place the ramekins in a preheated oven and bake for 30-40 minutes, or until the custard is set but still slightly jiggly in the center.
- Cool Gradually: Remove the ramekins from the water bath and let them cool to room temperature. Then, refrigerate them for at least 2 hours, or overnight, to set completely.
Why Cooling is Important Before Caramelizing Crème Brûlée:
Cooling allows the custard to firm up, making it easier to caramelize later. If the custard is too warm, the sugar may melt into it rather than forming a crispy layer on top.
Traditional Method: Using a Kitchen Torch to Caramelize Crème Brûlée
Caramelizing crème brûlée with a kitchen torch is the most traditional and popular method. It allows for precise control over the caramelization process, ensuring a perfect, even crust every time.
Steps to Caramelize Crème Brûlée with a Kitchen Torch:
- Sprinkle Sugar: Evenly sprinkle a thin layer of granulated sugar over the top of each chilled custard.
- Ignite the Torch: Light the kitchen torch and hold it about 2-3 inches above the sugar.
- Caramelize the Sugar: Move the torch in a circular motion to melt the sugar evenly. Watch as the sugar melts and turns into a golden-brown caramel.
- Cool Slightly: Allow the caramelized crust to cool for a minute before serving, so it hardens into a crispy layer.
Tips for Perfect Caramelization of Crème Brûlée:
- Use Even Layers of Sugar: An even layer of sugar ensures uniform caramelization.
- Control the Torch: Keep the torch moving to avoid burning the sugar.
- Experiment with Different Sugars: Try using brown sugar or raw sugar for a different flavor profile.
Alternative Method: Broiler Caramelization for Crème Brûlée
If you don’t have a kitchen torch, an oven broiler can also be used to caramelize crème brûlée. This method is convenient but requires careful attention to avoid burning.
How to Caramelize Crème Brûlée Using a Broiler:
- Preheat the Broiler: Set your oven broiler to its highest setting.
- Prepare the Ramekins: Place the sugar-topped ramekins on a baking sheet.
- Broil the Sugar: Position the baking sheet under the broiler and keep a close eye on the sugar as it caramelizes. This process should take 3-5 minutes.
- Cool and Serve: Once the sugar has caramelized, remove the ramekins from the oven and let them cool slightly before serving.
Advantages and Disadvantages of Broiler Caramelization:
- Advantages: No need for specialized equipment, and it can caramelize multiple ramekins at once.
- Disadvantages: Less control over the caramelization process, and there is a higher risk of burning.
Caramelizing Crème Brûlée Without a Torch or Broiler: Alternative Caramelization Methods
For those who don’t have access to a kitchen torch or broiler, there are still ways to caramelize crème brûlée. Here are a few alternative methods:
Stovetop Caramelization:
- Melt Sugar in a Pan: Place sugar in a heavy-bottomed pan and melt it over medium heat until it turns golden brown.
- Pour Over Custard: Quickly pour the caramel over the chilled custard. Be careful, as the caramel will harden quickly.
Microwave Caramelization:
- Use a Microwave-Safe Dish: Sprinkle sugar over the custard in a microwave-safe dish.
- Heat in Microwave: Microwave on high for 1-2 minutes, checking frequently to avoid burning.
Pros and Cons of Alternative Caramelization Techniques:
- Pros: These methods are accessible and don’t require special equipment.
- Cons: They can be less consistent, and it can be challenging to achieve an even caramel layer.
Troubleshooting Common Crème Brûlé Caramelization Issues
Even with the best techniques, caramelizing crème brûlée can sometimes go awry. Here are some typical problems along with solutions:
Uneven Caramelization:
- Problem: The sugar layer is uneven, resulting in some areas being over or under-caramelized.
- Solution: Use a fine sieve to sprinkle the sugar evenly and keep the torch moving during caramelization.
Burnt Sugar:
- Problem: The sugar has turned too dark or bitter.
- Solution: Hold the torch farther away from the sugar or reduce the broiler heat to avoid over-caramelizing.
Runny Custard:
- Problem: The custard is too soft or runny after caramelization.
- Solution: Ensure the custard is fully set before caramelizing. If necessary, refrigerate it longer before adding the sugar.
Flavor Variations in Crème Brûlée Caramelization
While classic crème brûlée is delicious on its own, adding flavors to the sugar before caramelizing can create a unique twist on this traditional dessert.
Adding Flavors for Enhanced Crème Brûlée:
- Vanilla Sugar: Infuse the sugar with vanilla beans for a subtle flavor enhancement.
- Citrus Zest: Mix finely grated citrus zest (like lemon or orange) into the sugar for a bright, refreshing taste.
- Spiced Sugar: Add a pinch of cinnamon, nutmeg, or cardamom to the sugar for a warm, spiced flavor.
Using Different Sugars in Crème Brûlée:
- Brown Sugar: Gives a deeper, molasses-like flavor and a slightly softer caramel crust.
- Raw Sugar: Adds a more robust, crunchy texture with a subtle flavor difference.
- Demerara Sugar: Offers a larger crystal size, which can result in a thicker, more substantial crust.
These variations can be easily incorporated by simply mixing your chosen flavor or sugar into the topping before caramelizing. Experimenting with different flavors and sugars can elevate your crème brûlée and add a personal touch to this classic dessert.
Decorative Finishes and Presentation for Crème Brûlée
The beauty of crème brûlée lies not only in its taste but also in its presentation. Here are some tips to make your crème brûlée look as good as it tastes:
Creating a Perfect Crème Brûlée Caramel Crust:
- Even Distribution of Sugar: Ensure the sugar is spread evenly across the surface for a uniform caramel crust.
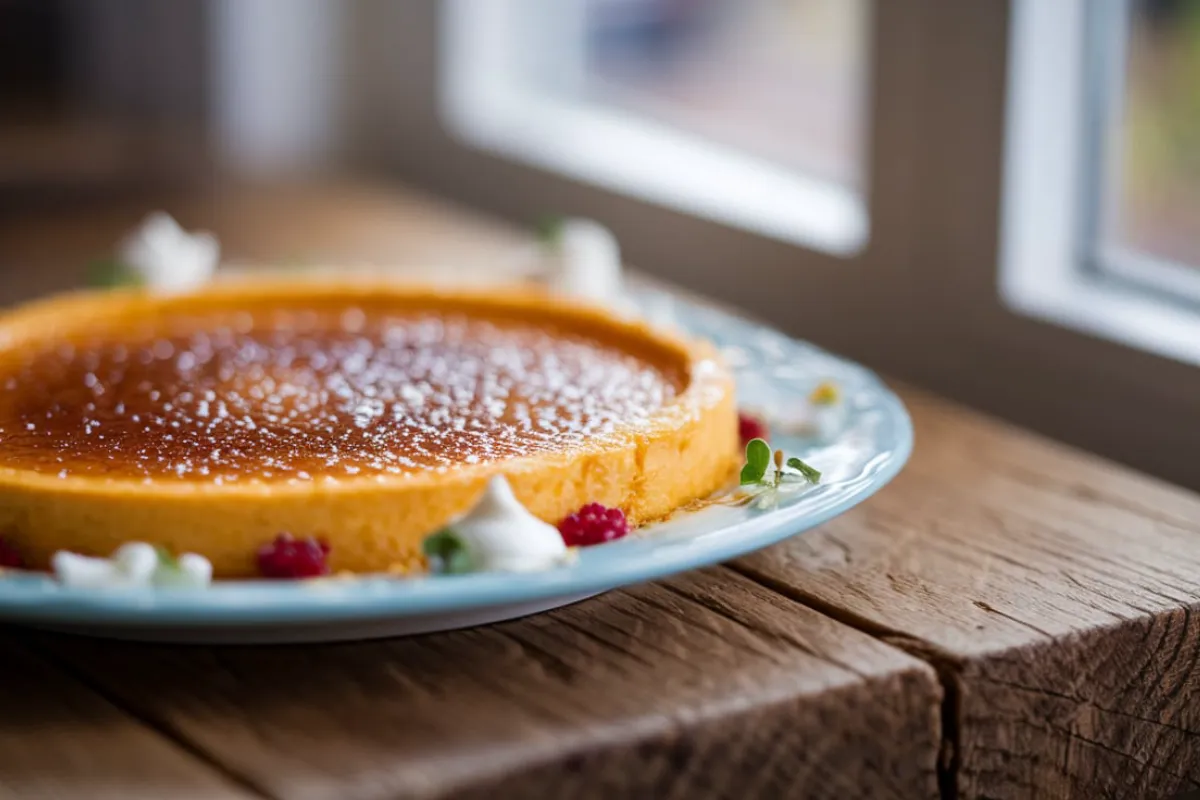
- Golden-Brown Color: Aim for a golden-brown hue when caramelizing. This indicates that the sugar has reached the perfect stage of caramelization.
Garnishing Ideas for Crème Brûlée:
- Fresh Berries: Top the crème brûlée with raspberries, blueberries, or strawberries for a pop of color and freshness.
- Mint Leaves: A sprig of fresh mint adds a bright contrast to the rich, caramelized surface.
- Edible Flowers: For a touch of elegance, garnish with edible flowers like violets or pansies.
Serving Suggestions for Caramelized Crème Brûlée:
- Serve Chilled: Crème brûlée is best served chilled, with the caramelized crust providing a satisfying contrast to the cool, creamy custard beneath.
- Accompany with Dessert Wine: Pair your crème brûlée with a dessert wine like Sauternes or Moscato for a luxurious dining experience.
Frequently Asked Questions (FAQs)
What is the best sugar to use for caramelizing crème brûlée?
Granulated sugar is the most commonly used and provides a perfect, even caramelization. However, brown sugar or Demerara sugar can be used for a different texture and flavor.
Can I caramelize crème brûlée without a torch?
Yes, you can use an oven broiler or alternative methods like stovetop or microwave caramelization. Each method has its pros and cons, but a broiler is the most common alternative to a torch.
How do I avoid burning the sugar when caramelizing crème brûlée?
To avoid burning the sugar, keep the torch moving in a circular motion and maintain a consistent distance from the sugar. If using a broiler, watch closely and remove the ramekins as soon as the sugar reaches a golden-brown color.
How do I know when the crème brûlée is fully caramelized?
The sugar should melt completely and turn a golden-brown color with a hard, glassy finish. If you tap the surface with a spoon, it should produce a satisfying crack.
Can I re-caramelize crème brûlée if the first attempt fails?
Yes, if the sugar hasn’t caramelized properly or has burnt slightly, you can carefully scrape off the burnt sugar, add a new layer of sugar, and try caramelizing again.
Final Tips
Caramelizing crème brûlée is a delicate process, but with the right techniques and a bit of practice, you can achieve a perfect result every time. Here are a few last pointers to remember:
- Start with Cold Custard: Make sure the custard is well-chilled before caramelizing. This ensures that the sugar stays on the surface and forms a crisp crust.
- Practice with Different Sugars: Experiment with different types of sugar to find your preferred flavor and texture.
- Don’t Rush the Process: Whether using a torch or broiler, take your time to ensure the sugar caramelizes evenly without burning.
Conclusion
Caramelizing crème brûlée is an art that combines technique, patience, and a bit of creativity. By following the steps outlined in this guide, you can master the caramelization process and impress your guests with a dessert that is as beautiful as it is delicious.
Remember, whether you’re using a kitchen torch, broiler, or alternative method, the key is to caramelize the sugar evenly and achieve that iconic crackling crust. With a little practice, you’ll be creating perfect crème brûlée in no time.
Enjoy your crème brûlée-making journey, and don’t hesitate to experiment with flavors and techniques to make this classic dessert truly your own!
