
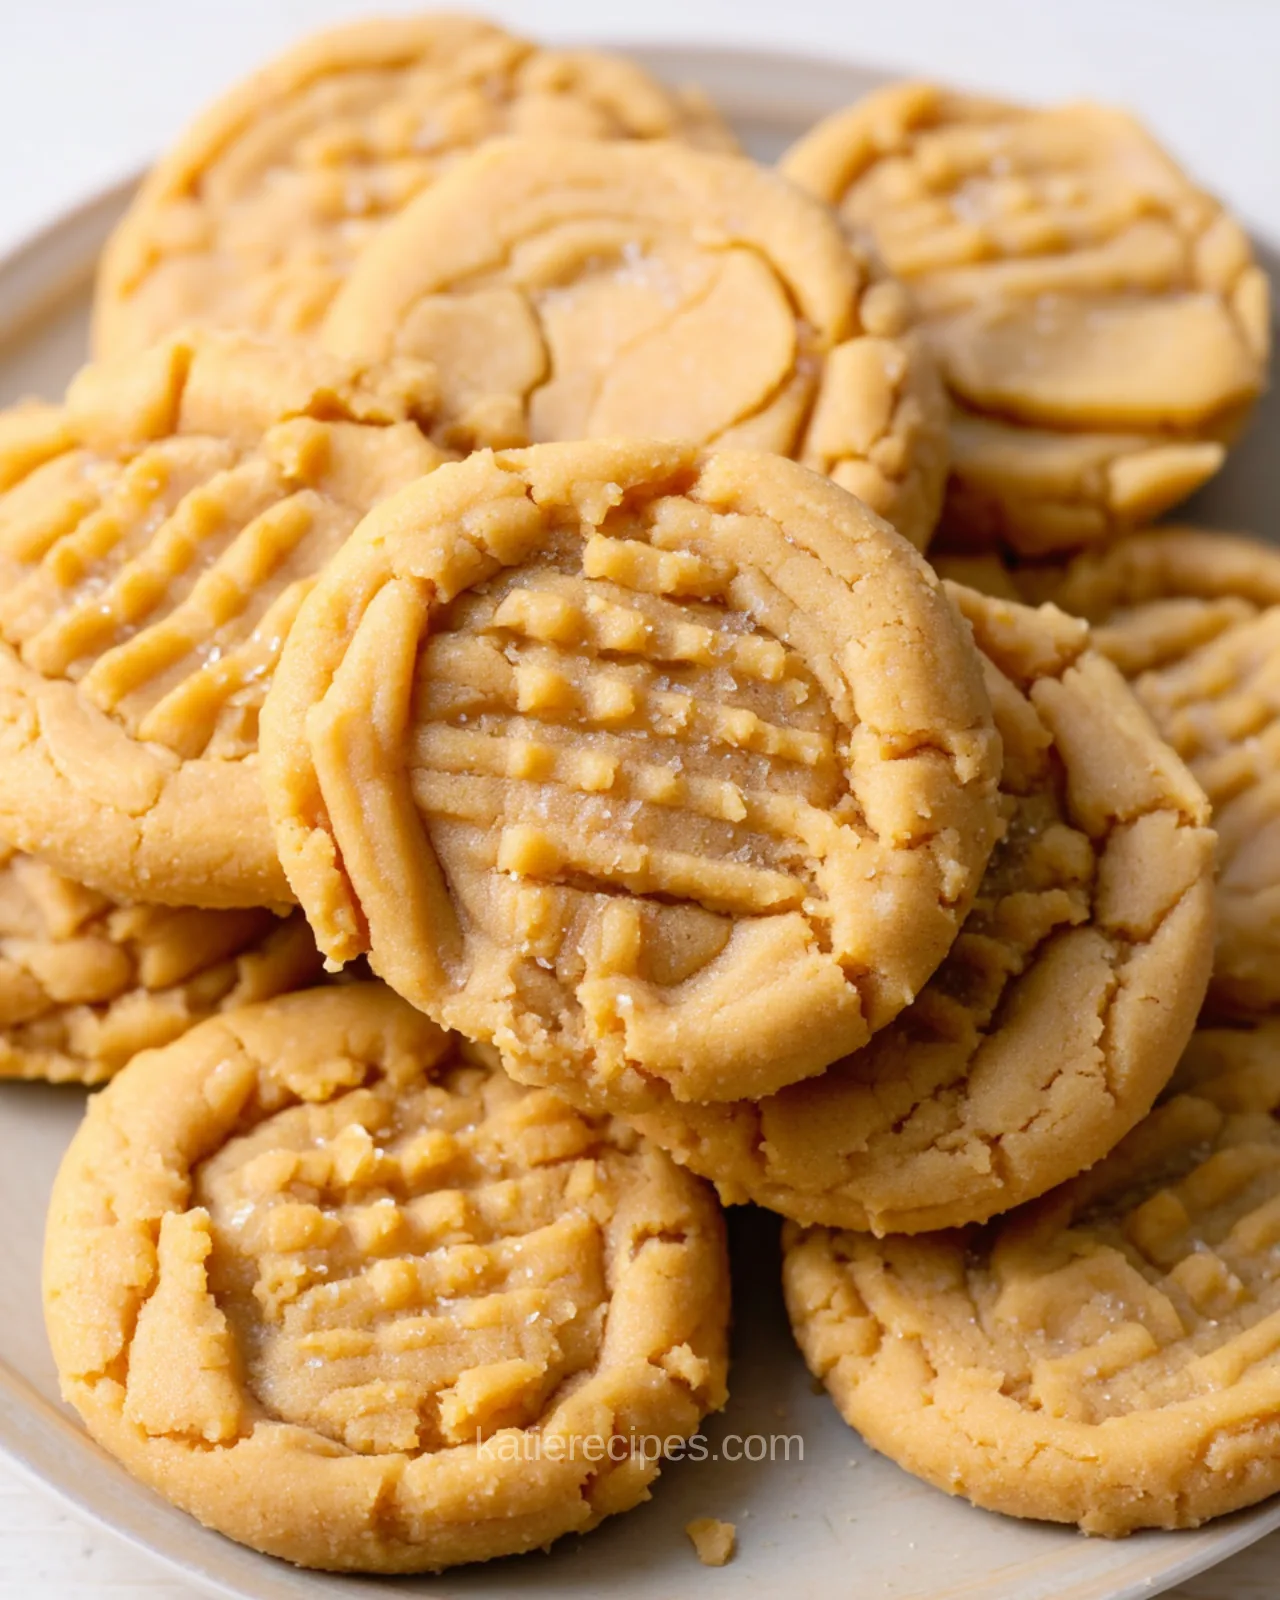
Some recipes earn their place in the rotation, and these thick and chewy peanut butter cookies are one of mine. I’ve made them on rainy Sundays, packed them into lunchboxes, baked a double batch when my sister visited, and once burned an entire tray because I got distracted folding laundry. They still come back into the kitchen every couple of weeks.
What I like about them is that they don’t pretend to be fancy. No chilling the dough overnight. No browned butter step. No specialty flour. Just real pantry stuff and a fork to make those classic crisscross marks on top. The texture is what really gets people though, soft middles, slightly chewy edges, and that deep peanut butter flavor that gets stronger the next day.
If you’ve been chasing a peanut butter cookie that doesn’t go dry or crumbly an hour after baking, this one’s worth trying.
Table of Contents
Why You’ll Love This Recipe
These come together in about 20 minutes from start to finish, which is honestly one of the main reasons I keep making them. No mixer required if you don’t have one (a sturdy spoon and a little arm work will do it).
The dough is forgiving. It holds up well if you forget about it for ten minutes on the counter, and it bakes up the same whether you scoop it perfectly or kind of pinch it together with your fingers like I sometimes do.
They’re rich without being heavy. The combo of granulated and brown sugar gives them that almost candy-like edge, while the peanut butter keeps the centers soft. And they store really well, five days in a container and they’re still chewy. I’ve never had a batch last that long, but technically.

Ingredients You’ll Need
½ cup unsalted butter, softened – Let it sit on the counter for 30 to 45 minutes. If you press a finger into it and it dents easily without melting, you’re good.
1 cup creamy peanut butter – I use the regular shelf-stable kind here, not the natural oily stuff. Natural peanut butter can make the cookies spread weird and turn greasy.
1 cup granulated sugar – Standard white sugar. This is what gives the edges their slight crispness.
½ cup brown sugar, packed – Light or dark both work. Dark brown will give you a deeper, almost molasses-like flavor if that’s your thing.
1 large egg – Room temperature blends in better, but I’ve used a cold egg straight from the fridge plenty of times and it still worked.
1 tsp vanilla extract – Don’t skip this. It rounds out the peanut butter so it tastes like cookie, not just nut paste.
1¼ cups all-purpose flour – Spoon and level it. If you scoop straight from the bag, you’ll pack in too much and end up with dry cookies.
½ tsp baking soda – Helps them puff slightly without going cakey.
¼ tsp salt – Even with salted peanut butter, that little extra pinch makes the flavor pop.
How to Make This Recipe
Get your oven preheating to 350°F (175°C) and line a baking sheet with parchment paper. The parchment matters here, these cookies stick a little if you bake them straight on the pan.
In a big bowl, beat the softened butter, peanut butter, granulated sugar, and brown sugar together until it looks light and a little fluffy. About two minutes with a hand mixer. You want the mixture to lighten in color and not feel grainy when you scrape the side. If your butter wasn’t soft enough, you’ll see clumps, just keep going and it’ll smooth out.
Add the egg and vanilla and beat again until it’s fully mixed in. The dough will look smooth and glossy at this point.
In a separate bowl, whisk the flour, baking soda, and salt together. Add it to the wet mixture in a couple of additions, mixing on low or stirring by hand until you don’t see any flour streaks. The dough should be thick but still scoopable. If it feels really sticky, you’re fine, that’s normal for this one.
Scoop tablespoon-sized balls onto your lined sheet, spacing them about 2 inches apart. Press each one gently with a fork in two directions to make that crisscross pattern. If the fork sticks to the dough, dip it in a little flour or sugar between cookies.
Bake for 10 to 12 minutes. Pull them when the edges look set but the centers still look slightly underdone, almost like they need another minute. They’ll keep cooking on the hot pan and that’s how you get that chewy middle. Let them sit on the sheet for 5 minutes before moving them to a wire rack.
Thick and Chewy Peanut Butter Cookies
Ingredients
Equipment
Method
- Preheat your oven to 350°F (175°C). Line a baking sheet with parchment paper and set aside.
- In a large bowl, beat together the softened butter, peanut butter, granulated sugar, and brown sugar using a hand mixer or stand mixer until light and fluffy, about 2 minutes. The mixture should lighten in color slightly.
- Add the egg and vanilla extract to the butter mixture and beat until fully combined and the dough looks smooth and glossy.
- In a separate medium bowl, whisk together the flour, baking soda, and salt. Gradually add the dry ingredients to the wet mixture and mix on low until a thick cookie dough forms and no flour streaks remain.
- Scoop the dough into tablespoon-sized balls and place them on the prepared baking sheet about 2 inches apart. Use a fork to gently press a crisscross pattern onto the top of each cookie. If the fork sticks, dip it in a little flour or sugar between cookies.
- Bake for 10 to 12 minutes, or until the edges are set and the centers still look slightly underbaked. Do not overbake. Let the cookies cool on the baking sheet for 5 minutes, then transfer to a wire rack to cool completely.
- Enjoy warm for the best chewy texture, or let cool completely and store in an airtight container at room temperature for up to 5 days.
Notes
My “Don’t-Dry-Out-the-Cookie” Mini Guide
Peanut butter cookies have a reputation for going dry and crumbly, and it’s almost always one of these things:
- Too much flour. Always spoon it into the cup and level the top with a knife. Scooping packs in way more than you think.
- Overbaking. If they look done in the oven, they’re already overdone. Centers should look soft when you pull them out.
- Natural peanut butter. I know it’s tempting to use the better-for-you kind, but it makes these greasy and prone to crumbling. Save it for toast.
- Skipping the brown sugar. Brown sugar holds moisture in a way granulated can’t. Don’t sub it all out.
- Not letting them rest on the pan. That five-minute cool-down on the hot sheet is when the magic chewy texture sets. Move them too early and they fall apart.
Helpful Tips
If you want a thicker, even chunkier cookie, chill the dough for 30 minutes before baking. They won’t spread as much and you’ll get a taller bite.
For a fun twist, press a chocolate kiss into the center as soon as they come out of the oven. Or fold half a cup of chocolate chips into the dough before scooping. Both work, both are good.
These freeze well as dough balls. Shape them, freeze on a tray, then dump into a bag. Bake straight from frozen, just add 1 to 2 minutes to the time. Honestly easier than baking them all at once.
If you like things saltier, sprinkle a tiny bit of flaky salt on top right after they come out of the oven. Sounds extra but it’s so good with peanut butter.
")
Frequently Asked Questions
Why are my peanut butter cookies dry?
Almost always too much flour or too long in the oven. Spoon and level your flour, and pull the cookies when the centers still look soft. They firm up as they cool.
Can I use natural peanut butter?
I really wouldn’t for this one. The oil separation in natural peanut butter changes the texture and the cookies tend to come out greasy or crumbly. Stick with shelf-stable creamy.
Can I make these gluten-free?
A 1:1 gluten-free flour blend works pretty well here since the recipe relies more on the peanut butter and sugars than the flour. Texture will be a little softer but still good.
How do I store them?
Airtight container at room temperature for up to 5 days. I tuck a slice of bread in with them to keep them extra soft, an old grandma trick that actually works.
Can I freeze the baked cookies?
Yes, freeze them in a single layer first, then stack in a bag or container. They’ll keep for about 2 months. Thaw at room temp or pop in the microwave for 10 seconds.
Why did my cookies spread too much?
Butter too warm, or the dough sat on a hot pan. Make sure your baking sheet is cool between batches and your butter is softened, not melted.
Final Thoughts
These cookies remind me of the kind of baking I grew up around, where nobody made a big deal about the recipe but everyone went back for a second one. They’re not trying to be impressive. They’re just good.
If you make a batch, give them that full five minutes on the pan before you move them. That’s the part most people skip and it really does make a difference. Beyond that, there’s not much that can go wrong.
I hope they end up in your regular rotation too.