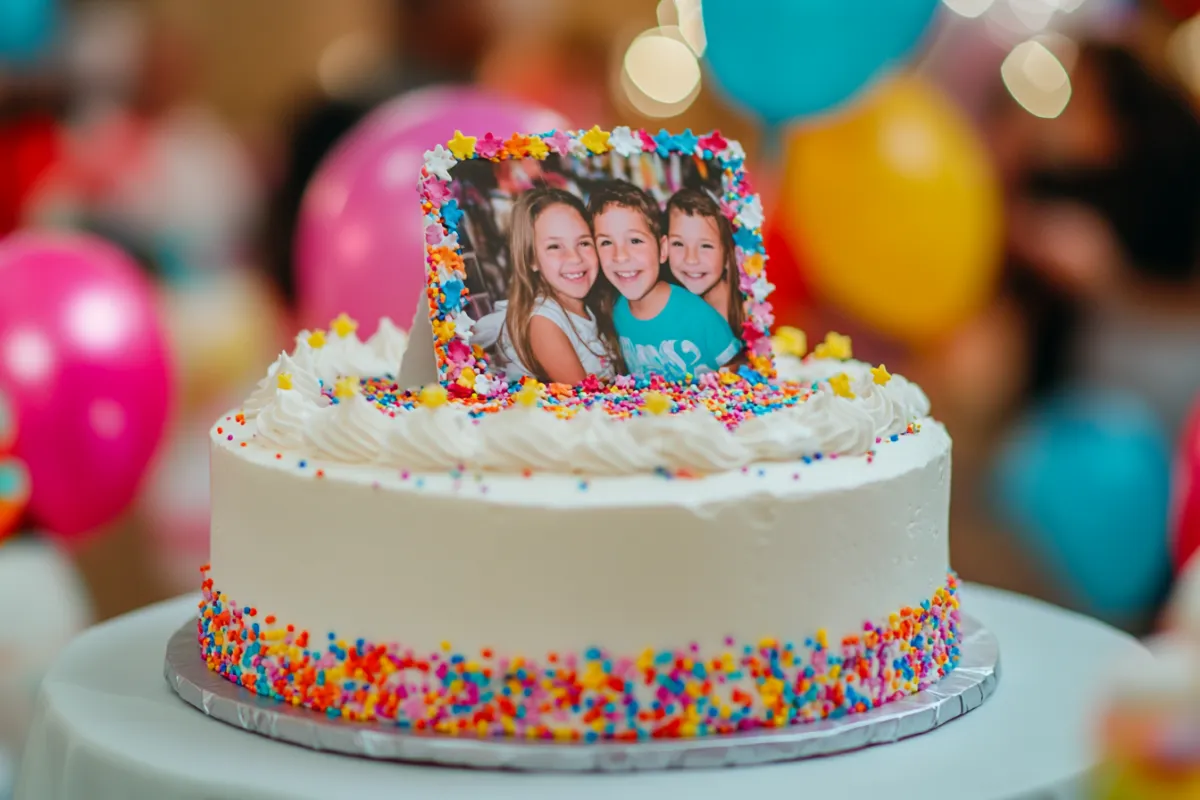
Designing a cake with a picture is a fun and creative way to add a personal touch to your desserts. Whether you’re making a cake for a birthday, anniversary, or other special occasion, adding an edible image can make the cake stand out. In this guide, we’ll explore how you can design a cake with a picture, step by step, and offer some helpful tips and techniques to ensure your cake is picture-perfect!
What Is an Edible Image?
An edible image is a photograph, logo, or illustration that is printed on an edible sheet, like frosting paper or wafer paper, using food-grade ink. These images are safe to eat and are commonly used to personalize cakes for special events. Here’s why edible images are so popular:
- Personalization: You can add a favorite photo or design to the cake.
- Creative Expression: With endless possibilities, you can design your cake however you want.
- Memorable: Picture cakes are a great way to make any occasion unforgettable.
Choosing the Right Picture for Your Cake
Choosing the right picture is the first step in designing a picture cake. The photo should be clear, with good lighting and resolution, so that it looks crisp when printed on the cake.
Tips for Selecting the Right Picture:
- High-resolution images work best, as low-quality photos can appear blurry.
- Make sure the lighting in the image is balanced; avoid pictures with shadows or overexposure.
- The main focus of the photo should be sharp and clearly defined
For more ideas on selecting the best picture for your cake, you can explore Bakerdays Photo Cake Gallery, which offers examples of cakes designed with custom images.
Types of Edible Images
Before you can add an image to your cake, it’s important to know what kind of edible sheet and ink you’ll need. Edible images come in two main types: frosting sheets and wafer paper.
Frosting Sheets vs. Wafer Paper
| Feature | Frosting Sheets | Wafer Paper |
|---|---|---|
| Texture | Smooth, dissolves on the cake | Slightly rough, doesn’t dissolve as easily |
| Best Used For | Detailed, colorful images | Simple designs or cartoon-like images |
| Taste | Slightly sweet, blends with icing flavor | Neutral taste, almost no flavor |
| Durability | Fragile, easy to tear | Stronger, more durable |
- Frosting Sheets: These are made from sugar and dissolve into the cake’s icing, providing a smooth, professional finish.
- Wafer Paper: Made from potato starch, wafer paper is more durable but does not blend as seamlessly into the cake as frosting sheets.
How to Print Edible Images at Home
If you want to print edible images at home, you’ll need the right tools. Here’s a step-by-step guide to get started.
Tools You’ll Need:
- Edible printer: A printer designed specifically for food-safe ink.
- Edible ink cartridges: These cartridges contain FDA-approved ink.
- Frosting sheets or wafer paper: Choose the sheet based on your cake design needs.
Steps for Printing:
- Choose Your Picture: Pick a high-resolution image that will look good when printed on the cake.
- Edit the Image: Crop or resize the image to fit the cake’s dimensions using photo editing software.
- Load the Edible Ink: Make sure your edible ink cartridges are full and properly installed in the printer.
- Print the Image: Place the edible sheet in the printer, select the image file, and print as you would on regular paper.
- Let It Dry: Once printed, let the image sit for a few minutes to ensure the ink dries completely.
For a more detailed guide on edible printing, visit Decorated Treats, which provides a comprehensive overview of how to handle edible images.
Professional Image Printing Options
If printing edible images at home sounds like too much work, don’t worry! Many bakeries and online services offer professional edible image printing. These companies can print your chosen image on high-quality edible sheets and mail them to you.
How to Order Edible Images Online:
- Choose a Trusted Supplier: Many cake supply stores or online platforms like Amazon or Etsy provide edible image services.
- Upload Your Image: Provide a high-quality image file in the required format (usually JPEG or PNG).
- Receive Your Image: Most services ship your custom image to your door within a few days.
Tip: Check customer reviews before placing an order to ensure the company uses food-safe materials and high-quality prints.
Applying the Edible Image to a Cake
Now that you have your edible image, it’s time to put it on the cake. Here’s how to do it:
Steps for Applying the Image:
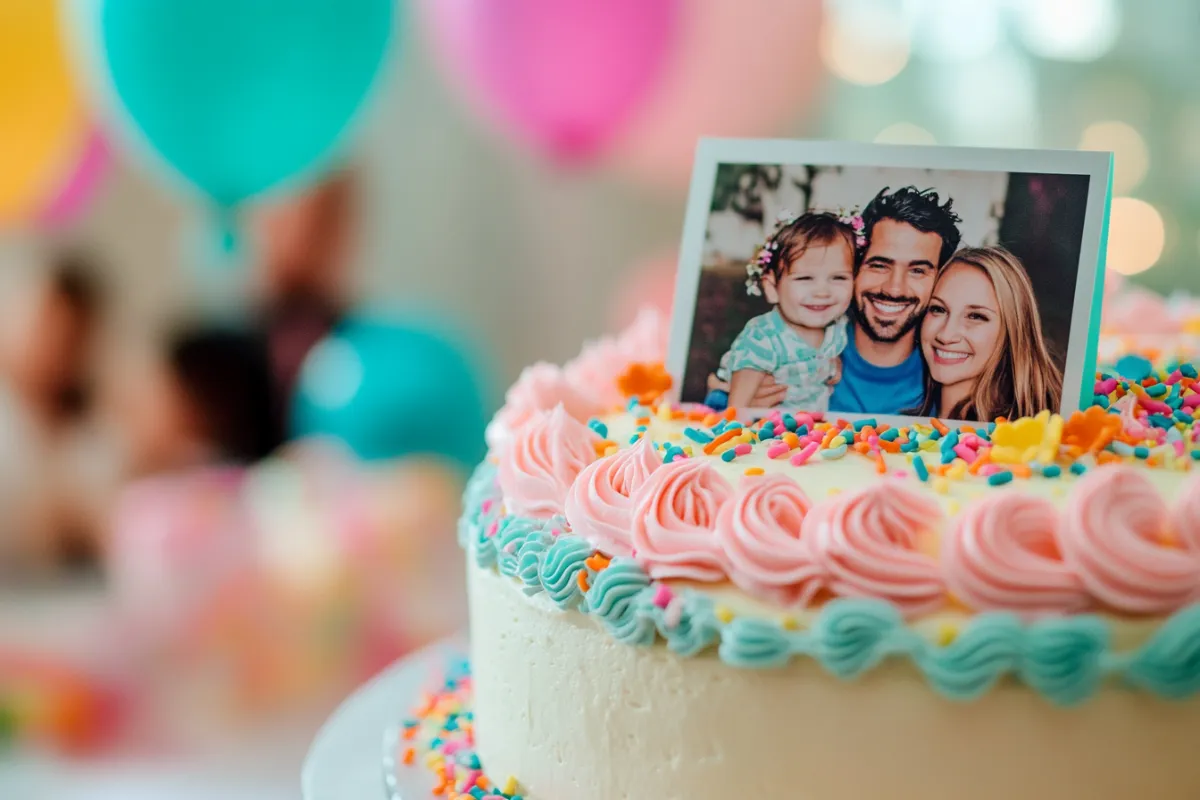
- Prepare the Cake: Make sure the cake’s surface is smooth, with a layer of buttercream or fondant.
- Trim the Image: If necessary, carefully trim the edges of the edible image using a clean pair of scissors.
- Place the Image: Gently peel the image from its backing paper and lay it flat on the cake, starting from one corner and smoothing it down to avoid air bubbles.
- Smooth the Image: Use your hands or a fondant smoother to press down the image and eliminate any wrinkles or bubbles.
For an extra layer of decoration, you can add piped borders around the image to give it a finished look.
Decorating Around the Picture
The picture may be the star of the cake, but that doesn’t mean you can’t add more decorations! Here are some ways to enhance the design around the image:
- Add Borders: Use icing to create a border around the image for a polished look.
- Sprinkles and Edible Glitter: Add sparkle with edible glitter or colorful sprinkles.
- Flowers and Fondant Shapes: Incorporate fondant flowers, shapes, or themed decorations that match the picture’s theme.
Advanced Cake Design Techniques
If you’re feeling extra creative, there are more advanced techniques you can use to make your picture cake even more impressive.
Airbrushing and Edible Paint
- Use an airbrush with edible paint to enhance colors or add shading around the image.
- Edible markers can also be used to add intricate details.
3D Designs
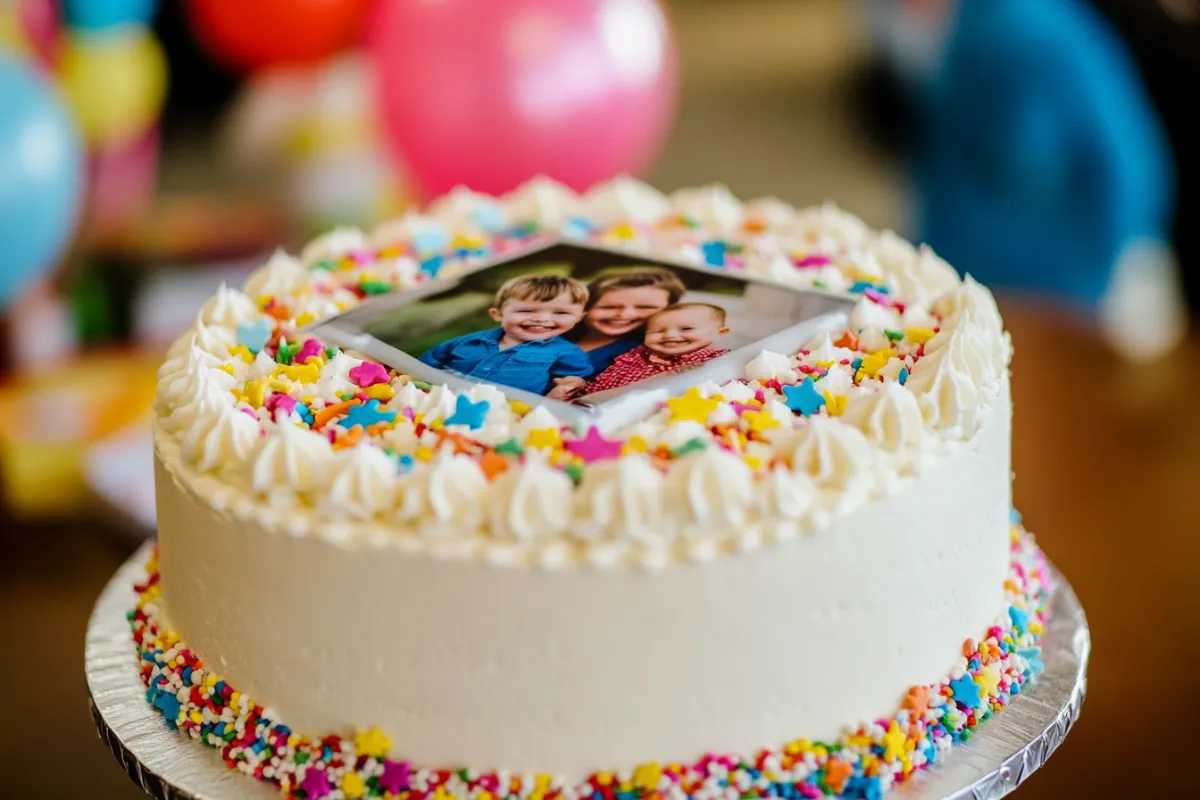
- Add a 3D element to your cake by layering multiple images or using shaped cake layers.
Caring for Your Picture Cake
To ensure your picture cake stays fresh and looks great when served, follow these storage tips:
- Keep it Cool: Store the cake in a cool, dry place, but avoid placing it directly in the refrigerator, as this can cause condensation on the edible image.
- Serve on the Same Day: It’s best to serve picture cakes the same day they are made for optimal freshness.
- Transport with Care: If transporting, make sure the cake is stable and packed securely to prevent damage to the image.
Common Issues and Troubleshooting
Even with careful preparation, issues can arise when applying edible images. Here’s how to fix some common problems:
- Air Bubbles: If air bubbles form under the image, use a clean pin to gently pop the bubble and smooth out the image.
- Wrinkles: To avoid wrinkles, make sure the cake surface is perfectly smooth before applying the image.
- Fading Colors: Keep the image out of direct sunlight to prevent the colors from fading.
Popular Occasions for Picture Cakes
Picture cakes are perfect for all kinds of celebrations. Here are some popular occasions where they shine:
- Birthdays: Add a photo of the birthday person or a favorite character.
- Weddings: Use an edible image of the couple or their wedding monogram.
- Anniversaries: Create a cake with a memorable photo from the couple’s past.
FAQs
How long does it take to design a picture cake?
Designing a picture cake can take as little as a few hours if you have the tools ready, but it’s best to plan ahead, especially if ordering custom images.
Can I use any photo for an edible image?
Most photos work, but make sure they are high resolution for the best quality on the cake.
How much does it cost to add a picture to a cake?
Costs vary, but ordering a custom edible image usually ranges from $10 to $20, depending on size and supplier.
Is it safe to eat cakes with printed edible images?
Yes! Edible images are made with food-safe inks and sheets, so they are completely safe to consume.
How can I store an edible image cake without damaging it?
Store the cake in a cool, dry place and avoid refrigerating it, as moisture can damage the edible image.
conclusion
Designing a cake with a picture is a creative and personalized way to enhance any special occasion. From choosing the right high-resolution image to applying it onto your cake, the process is both fun and rewarding. With edible images, you can turn simple cakes into beautiful, memorable centerpieces that are sure to impress your guests. Whether you print edible images at home or order them from a professional, following the right steps ensures a flawless result. Remember to use smooth buttercream or fondant as a base, handle the edible sheets carefully, and apply the image gently to avoid bubbles and wrinkles.
This type of cake decoration is perfect for birthdays, weddings, anniversaries, and more, offering endless possibilities for customization. Picture cakes are not only visually stunning but also provide a unique, personal touch that makes any event feel extra special. With proper storage and care, your picture cake will maintain its freshness and visual appeal until it’s time to cut and serve. So, whether you’re an experienced baker or just trying something new, designing a cake with a picture is a simple and delightful way to make your celebration unforgettable!

